How to start using Farmbrite

This article will walk you through the steps of getting started setting up your farm. Learn how to add livestock, and crops, equipment, accounting, add tasks and more. If you need more information you can search the help site or click on the specific topic links listed in each area. Please feel free to reach out if you need more help. 

You can also watch this 15 minute overview video to learn the basics of the software. You can jump to any chapter here as well to get to the specific section you're looking for. 


Below you will find links to jump to a section that you're looking for.

  1. Your Farmbrite Dashboard

  2. Farm Schedule

  3. Farm Tasks

  4. Entering Livestock into Farmbrite

  5. Entering Plants and Crops In Farmbrite

  6. Resources 

  7. Equipment

  8. Accounting

  9. Market

  10. Maps

  11. Reports

  12. Mobile

We also encourage you to check out our online trainings to get the most out of your account.

Some Helpful Tips on Getting Started:

Take your time and don't be afraid of trying things in the software. You can always delete it later. It's always a little time consuming learning something new. Give it a little time and we are always here to help you if you need.

When you are just starting out in Farmbrite it may be helpful to just get a lay of the land before you go in and enter all your information. This is so you get to see how things work. 

You can do this by setting up a few test entries. Go through each tab up at the top of the page and enter one entry, it can be an actual entry or something you can delete later. Once you have some info in your account some of the deeper pages will appear which will allow you to enter even more information. 

If you come up with a question that you can't find the answer to in this help center site, send us an email. We're happy to help with your problem or questions. 

Let's get started.

Your Farmbrite Dashboard

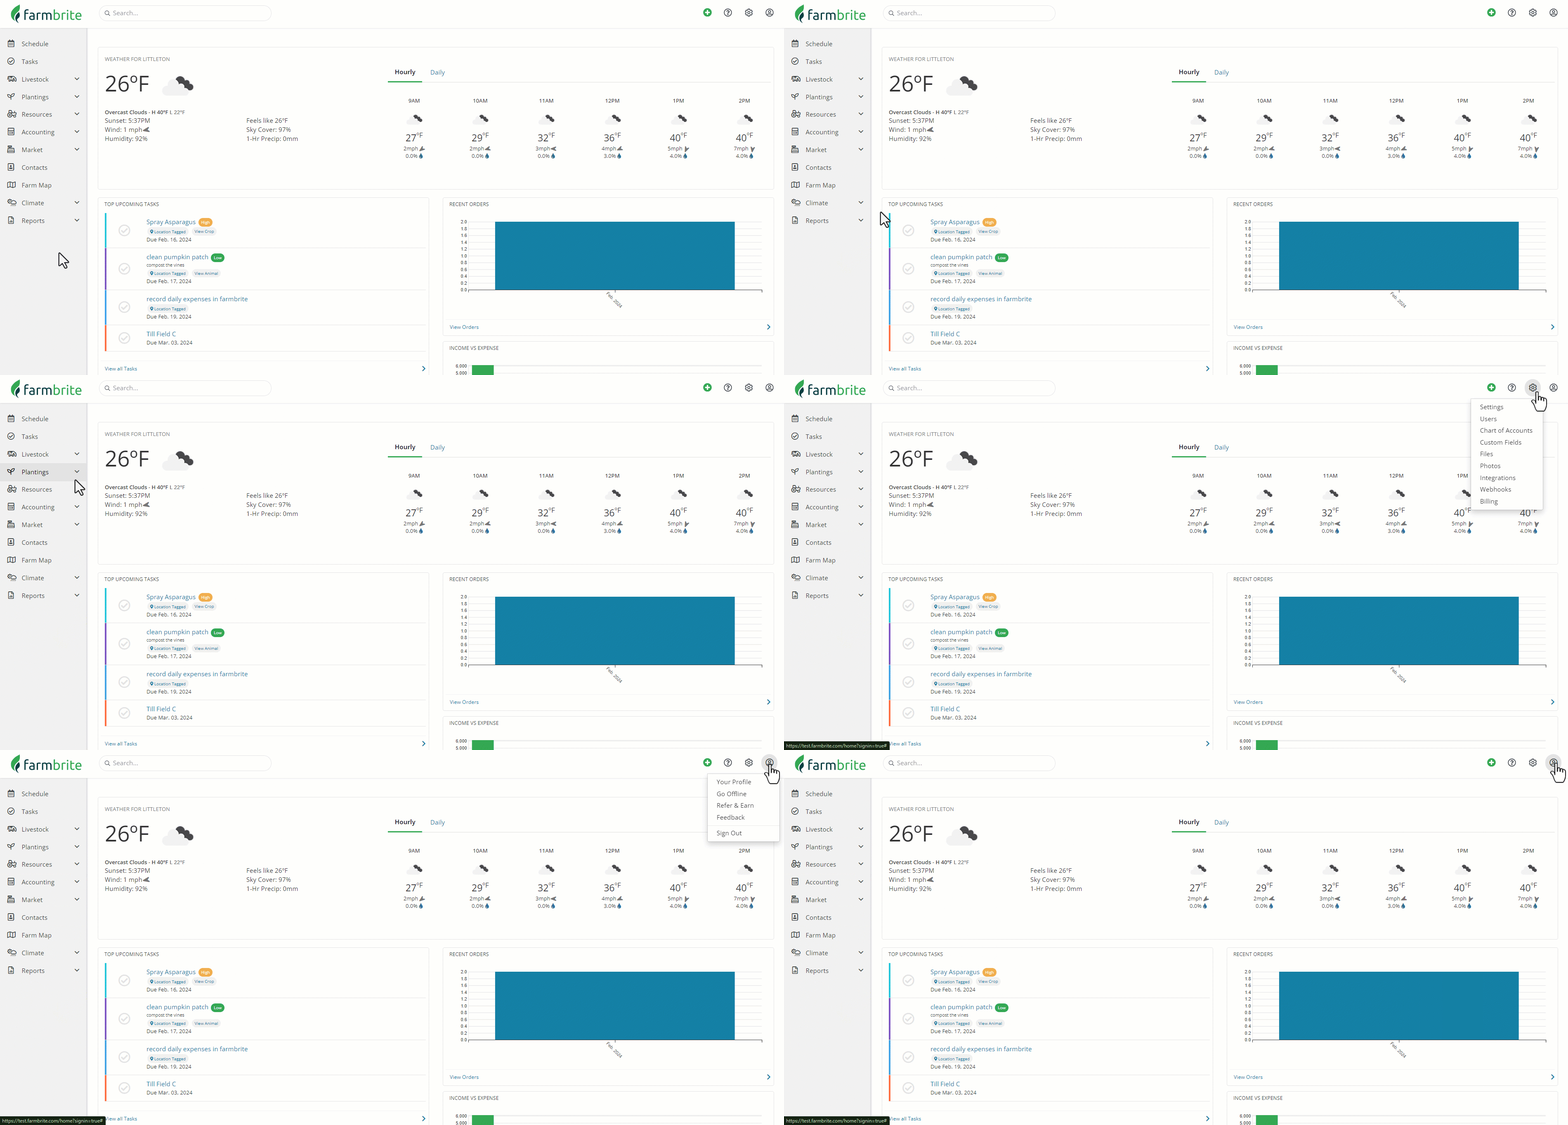
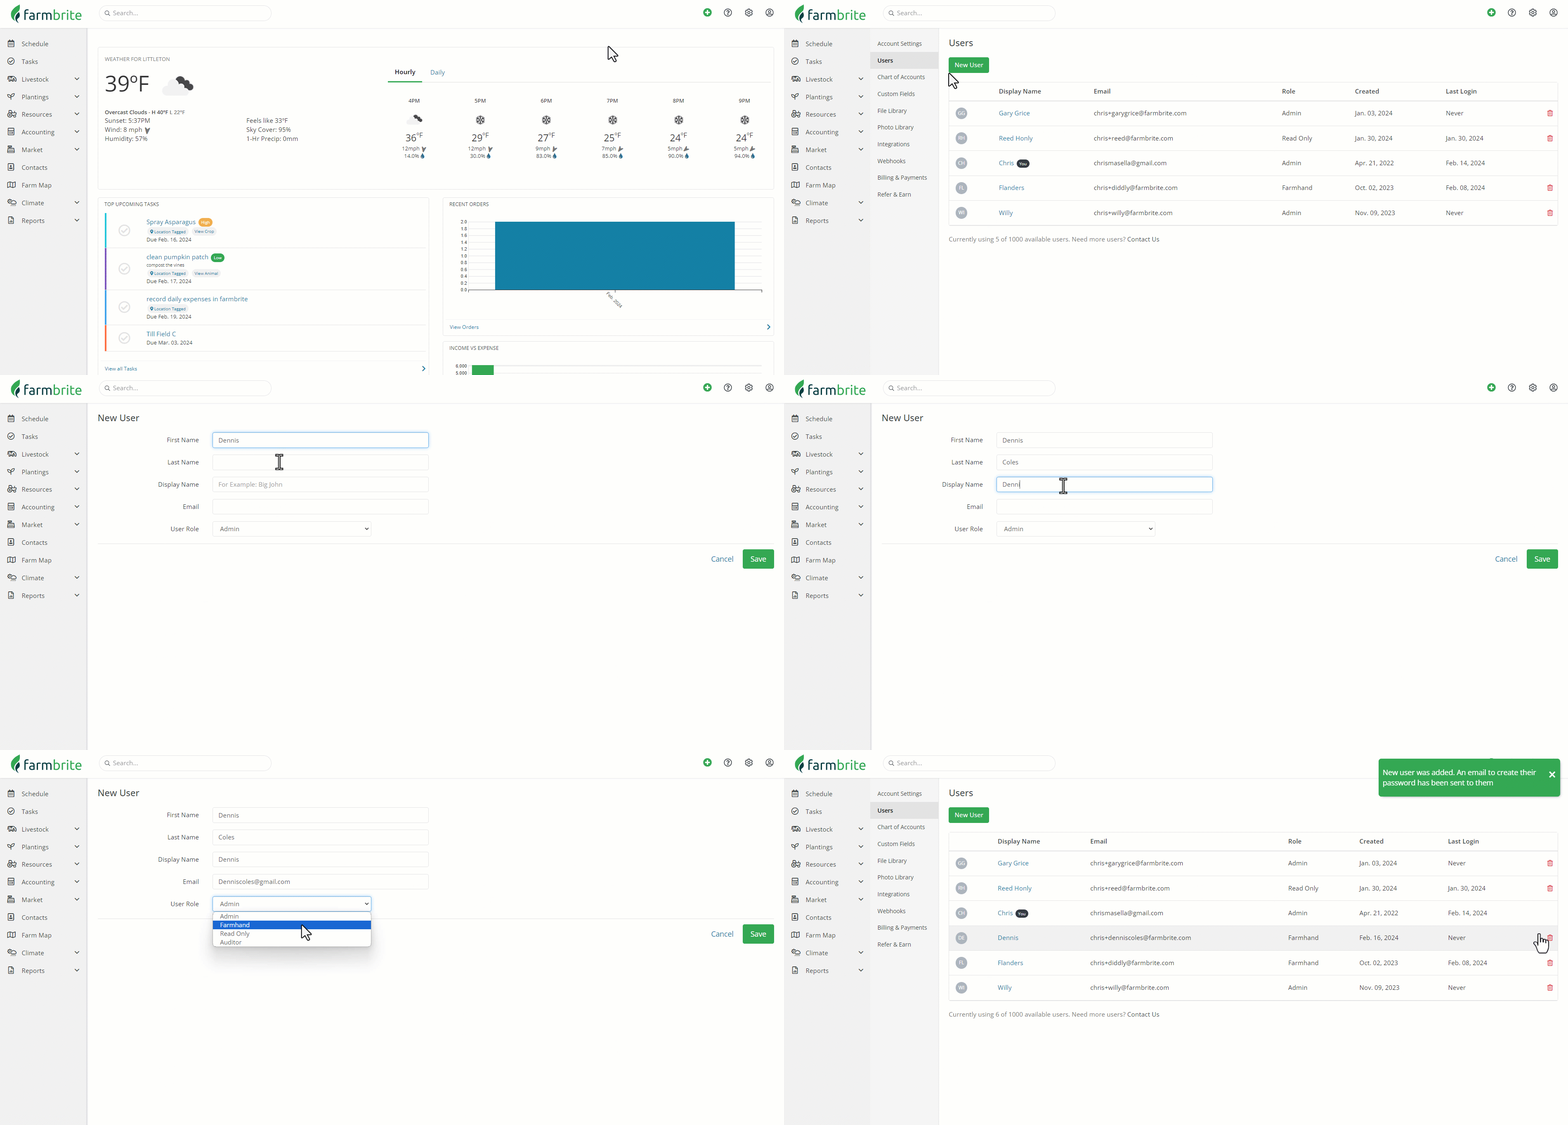
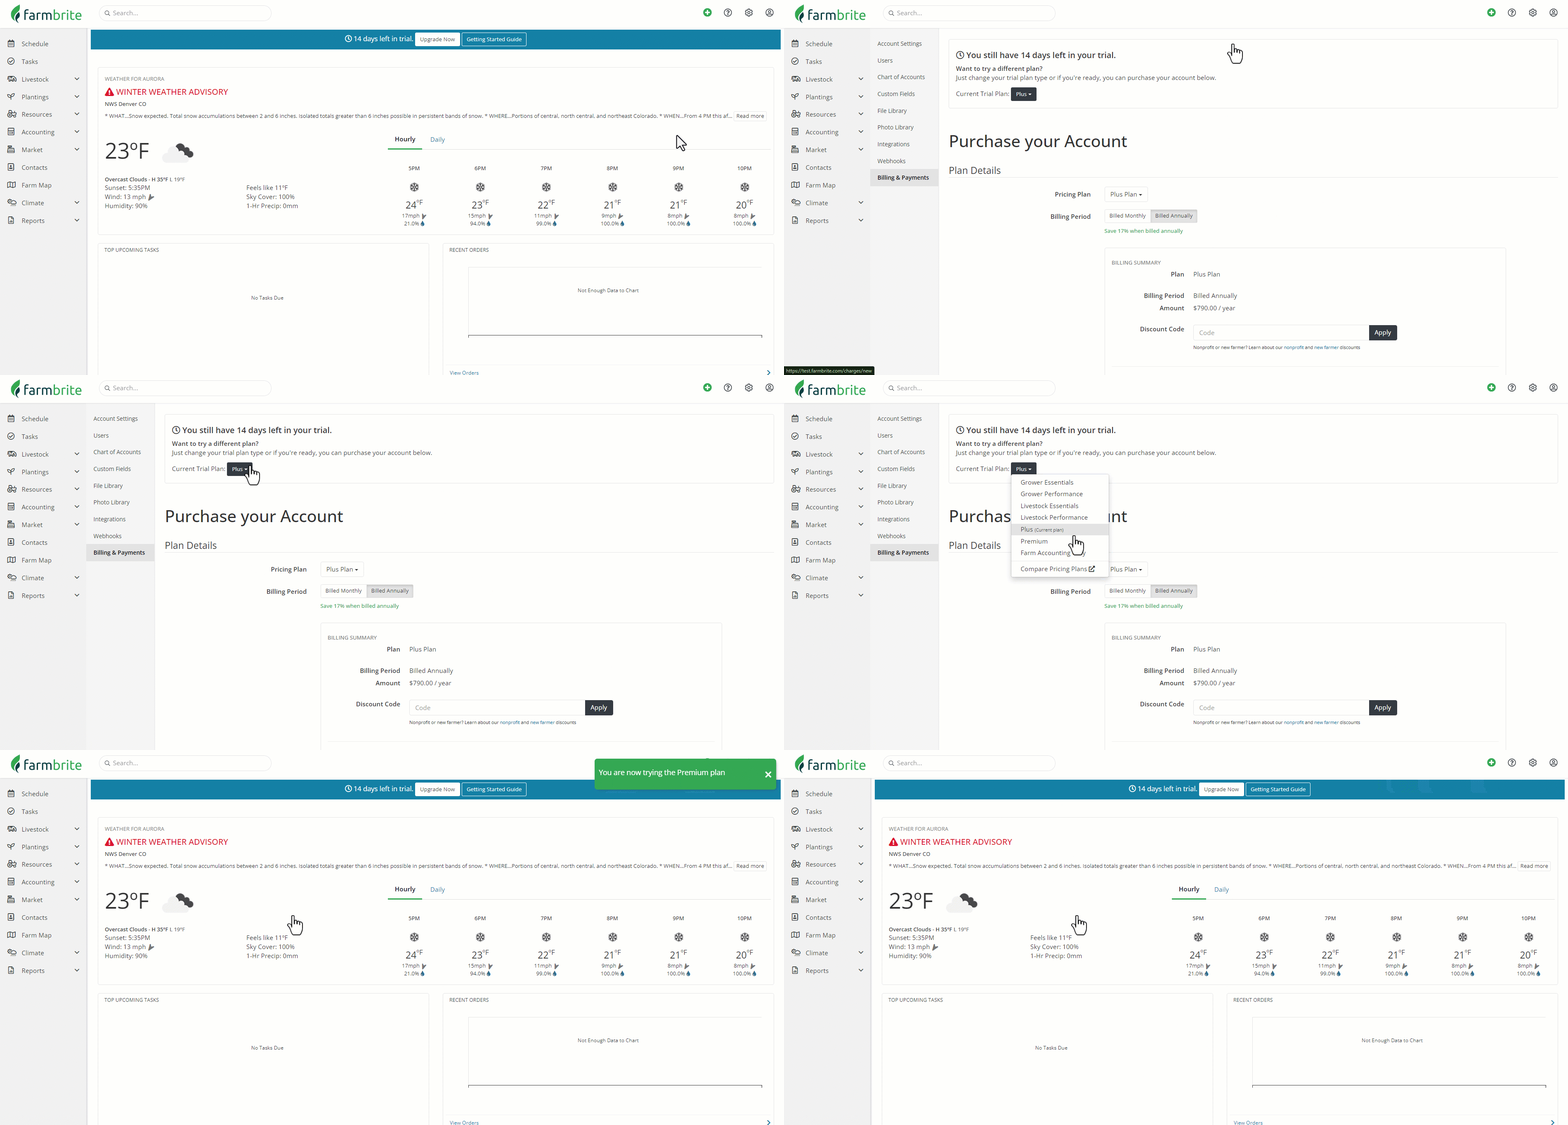
This is a snapshot of the first screen you might come to in Farmbrite, your homepage. While this pages doesn't look exciting right now, just wait till you start entering information. This page will give you lots of valuable data about your farm once you begin entering data. When you're just getting started this page might look something like this but the information will fill out once you've entered data about your farm or ranch. Check out the search bar at the top because it will come in handy to find that data after you've entered it too. 

Just start going through the tabs on the left side navigation to enter information. 

Farm schedule

The next tab will show you your schedule. Here you can schedule activities or enter tasks that need to be completed (that you don't want to forget) or tasks that you would like to assign to your staff. 

Your farm schedule has two ways of entering items:

  1. Activities are time sensitive items you schedule on your calendar such as events, meetings, or other time sensitive activities.
  2. Tasks are items on your To-Do list. These are often items that you have scheduled and need to check off from a list of items.

You can also put your employee schedule here. The employees can see when they are scheduled if you give them access to this calendar. Alternatively, if they don't have access you can keep track of their hours, what they specifically did, and what day they worked.

Farm Tasks

Under the schedule tab you will find your task list. This shows you a list of tasks that are coming up or needed to be done today, this week or as far out as you plan.

This keeps things at the front of your mind so you don't forget them. Your staff will also see the tasks that are assigned to them on their task menu. Just check them off to clear them from your shown list.

Task Board Set Up:

There are two ways to view your tasks. You can view in a list view (above) or the board view. You can also toggle between both views.

List View:

The list view shows you a list of tasks all together. You can sort these by user that they are assigned to. When using the list view use the circle buttons to check off the tasks as they are completed. You can always view a list of completed tasks. 

Board View:

To view your tasks in a board view toggle the grey button at the top right hand side of the screen to Board View. This will show your tasks in columns. You can drag the tasks around between statuses. (When you add to the done column it will make as completed and will no longer show on the open tasks. Use the "See all completed" to show the completed tasks in the done column.

Change the Board view categories:

To change the types of statuses or categories on your board you will need to go to the Account tab. This can be found at the top right hand side of your account. Go to the Settings tab and you will find the list of task statuses. This can be changed to whatever you like.

Completed Tasks

To complete tasks you can you check them off your list.  Simply click on the check box or circle on the left side and the task will be checked off your list. 

To see your completed tasks click on the "show completed" button at the top of the page or on the board view page. This will show you all your completed tasks. Simply click, "hide completed" to navigate back to the open tasks. 

You can enter tasks specific to a field, livestock, plant or equipment.

Entering Specific Tasks

You can enter tasks specific to a field, livestock, plant or equipment. For instance, you can create a reminder to check on your bee hive. This will create an event on your farm calendar in Farmbrite. 

Use the checklist feature to create a task list or notes in the event so that you or your staff knows exactly what needs to be checked. When you click on that link it will take you right to that item (livestock, plant, field, equipment) and then you can make notes, add treatments, save a photo as well as many other tasks.

You can also associate the task to a resource, livestock or crop.

You can change the look of your task board as well. There is a button in the top right hand corner of the task board that let's you choose from a list or a board. (Don't worry, you can switch back if you don't like the new layout.)


Entering Livestock into Farmbrite

On your main Livestock tab you will see all the animals that you've entered, charts and graphs about breeding statuses and animal types, and an overview of your animals grazing. 

You have a few choices to enter your livestock:

1.) Enter one animal at a time:

Click on "New Animal" and begin to input your herd.

2.) Upload a CSV file from a previously saved file:

If you click on the cloud button to the right hand side of the "New Group" you will see a template and instructions on how to upload your animals.

3.) Create a group of animals

You can create 3 different types of groups within Farmbrite. A Smart group, a Basic group and a Set. For the Smart and Basic groups they will take uploaded animals or ones you've created and add them to groups in the smart group case and give you the ability to add them to a basic group. A set is one that you would create at this time. This would be for groups of animals that are kept all together and tracked as a group, like chickens, poultry or bees.


Once you enter your livestock charts and graphs will start to fill out and will look similar to the charts below.


By clicking into each specific animal it will open up many other fields to collect data. You can find more information and specifics about entering your livestock here.


Read more about getting started with livestock

Entering Plants and Crops In Farmbrite

The next tab is the crops tab. Go to the "My Crops" tab to begin to enter your plants. This is where you enter the information from the seed packets or from your stored information. For instance you can add type of seeds, seed spacing needs, days to emerge, days to maturity, harvest units, estimated revenue, etc. 

* Entering seed packet data - Don't skip this step - It's important to note here that adding data here will help calculate harvest dates, spacing and other important dates for you. There are many plant types already preloaded for you but you can also enter this data yourself.

* Entering estimated revenue - Don't skip this step - Inputting this estimate will help calculate harvest estimates revenue on your harvest totals.

* This is where you will assign harvest units to a plant. You can change this later if needed.

* Clicking the perennial button under planting details will notify Farmbrite that this plant will grow in this location longer than one year.

Once you have a plant entered (or uploaded) you can assign them to fields and growing locations.

Click the "Add New Crop Type" button to begin to enter in your crops. Follow the prompts to enter the information. use the save and new button to enter and add a second one quickly. It will take you through a wizard form to add a new type and variety. You can also use one of the preloaded plant types and change the information as needed. 

Setting up Growing Locations in Farmbrite

Set up grazing fields, greenhouses, row crops or beds easily in the "Grow Locations" tab. You can specify what type of layout you have and input specific information about that field such as light profile, type of field, status, etc.    

Once you create the grow location (and designate your field layout type) and save it you will see many other data fields become available to enter information. (Like treatments, accounting, images, samples, and more) 

Go here for more information on setting up your grow locations. Alternatively, you can search the help center site for more information.

Clicking on the "New Grow Location" will prompt you to go through another wizard to add more information about the growing location, mapping the field, and adding plantings. You can skip this step and come back and any time. 

Resources  

The resources tab gives you the ability to add machinery like farm trucks, tractors, chainsaws or any other types of equipment you might have. It also is where you can set up warehouses, cold storage, barns (or sheds) and the inventory you keep there.

Entering Equipment in Farmbrite

Entering and keeping track of your farm equipment is easy to do with Farmbrite. You can keep track of maintenance records, online manuals, documents associated with the equipment, photos, tasks, purchases made on that equipment and more.

You can enter your equipment in two ways:

1.) Enter all your equipment in Farmbrite all at once with a CSV file. 

On the equipment tab there is a cloud button next to the "New equipment"  button. This is where you will find a template and instructions on how to upload your information.

2.) Enter each piece one at a time. 

If you don't have a document at this time you can begin to enter your data by clicking the "New equipment" button. 

This area is very versatile and can be used for many types of equipment from hand tools to heavy machinery. 

Entering Data about your equipment

Once you've entered or uploaded your equipment more data fields will show up. This is where you can add tasks and calendar items, change details about the equipment item, add notes, maintenance records add accounting fees, images and files. (You could store your original purchase receipt here.)

Another nice feature that you will find associated with all your records including your equipment is a QR code. (Square box in the top right corner.) You can print this out, laminate it or put packing tape over it to protect it from the weather) and make quick notes using your mobile phone. It's helpful to use the mobile version of Farmbrite for this (which is downloaded on your phone). You can also use the mobile enabled version by going to www.farmbrite.com on your phone.

For more information about setting up your equipment go here or search the articles here in the help center.

Getting Set Up in Accounting

Your accounting tab gives you access to your farm financials. This is set up very much like the other tabs. Once you start to enter information you will see charts and graphs and a quick snapshot of your farm financial picture begins to form. For more in depth information see the reports. 


Entering a Transaction in Farmbrite

You can enter transactions two ways:

1.) Upload all your transactions from a CSV file:

Click on the cloud button beside the "Record a transaction"  button to import files. It will bring up instructions and a template that you can download. You can upload the data from your bank or other financial institutions to update your financial picture. (At this time we do not directly link to banking institutions.

2.) Enter each transaction separately:

You can record transactions separately on the go. You can add these on the mobile app or on the mobile enabled version of Farmbrite.  

(Note: To keep your data secure we do not communicate with your bank. You can download your data from your bank and then upload it into Farmbrite using a CSV file.)

You can find more information about the Farmbrite accounting tab here.

Getting your online Market set up

Your online market is an easy way to sell your items online. You can keep track of orders and inventory here as well. Take a few minutes to set up your store, pickup locations and specific items you will sell. 

Find out more about setting up your online market here.


Setting up your Contacts in Farmbrite

Your contacts tab is your new way to keep all your farm business contacts in one place. You don't have to keep cards around or search around for small pieces of paper with the number you need anymore. Input it into Farmbrite.

This can include your customers, veterinary, farm staff, customers, irrigation repair, family, friends, whomever you need.

1.) Upload all your contacts from a CSV file:

Click on the cloud button beside the "New Contact" button to import files. It will bring up instructions and a template that you can download. 

2.) Enter each contact separately:

You can add contacts from wherever you are. You can add these on the mobile app or on the mobile enabled version of Farmbrite.  

3.) Contacts will be added when they create an order on your Market

When a new contact comes to your site a new contact will be created with the information that they enter.

For more information about entering contacts go here or search the help center.


Setting up your Farm Map

Trace your property boundary, set up fields and view your farm from the Farm map tab. 

(Note: This is a Google map. Occasionally Google will not map your farm correctly. We apologize for this. Usually you can scroll to the right area.)


Setting up your Reports In Farmbrite

The reporting features is where you can really dig in to your data and see where you are finding profit or loss. There are two types of reports to view:

1.) Standard reports

2.) Custom reports 

Standard Reports

We have a created several standard reports for you that anticipate things that you might want to see on your farm or ranch. They are shown on the top of this page under the categories of Livestock, Crops, Accounting/Financial and Market &Orders.

Custom Reports

You can create all types of custom reports using this feature. Because every agricultural operation is different we find giving you flexibility is key. Creating custom reports will let you drill down to the specific information that you need specific to your farm. Create a new Customer report by clicking the "New Custom Report button. For more information about creating custom reports click here.


Using the Mobile version of Farmbrite

There are 2 versions of Farmbrite at this time. One is the desktop version that can be accessed at any time from any device including your mobile phone. It is not stored locally on your device and is housed in the cloud. 

The second Farmbrite version is the native mobile version for iOS and Android. The version specific to your phone can be downloaded on your phone from the playstore. This can be used for making offline notes and scouting. It does not have all the features of the desktop version at this time.


You can find more information about the reporting features by searching this help center site. Please let us know if you have any questions.