One of the first things you might do in your new Farmbrite account is take a look at your system settings. You can find these under the Gear icon in the upper right. The menu expands with a few choices, and we'll focus on the Settings selection first.
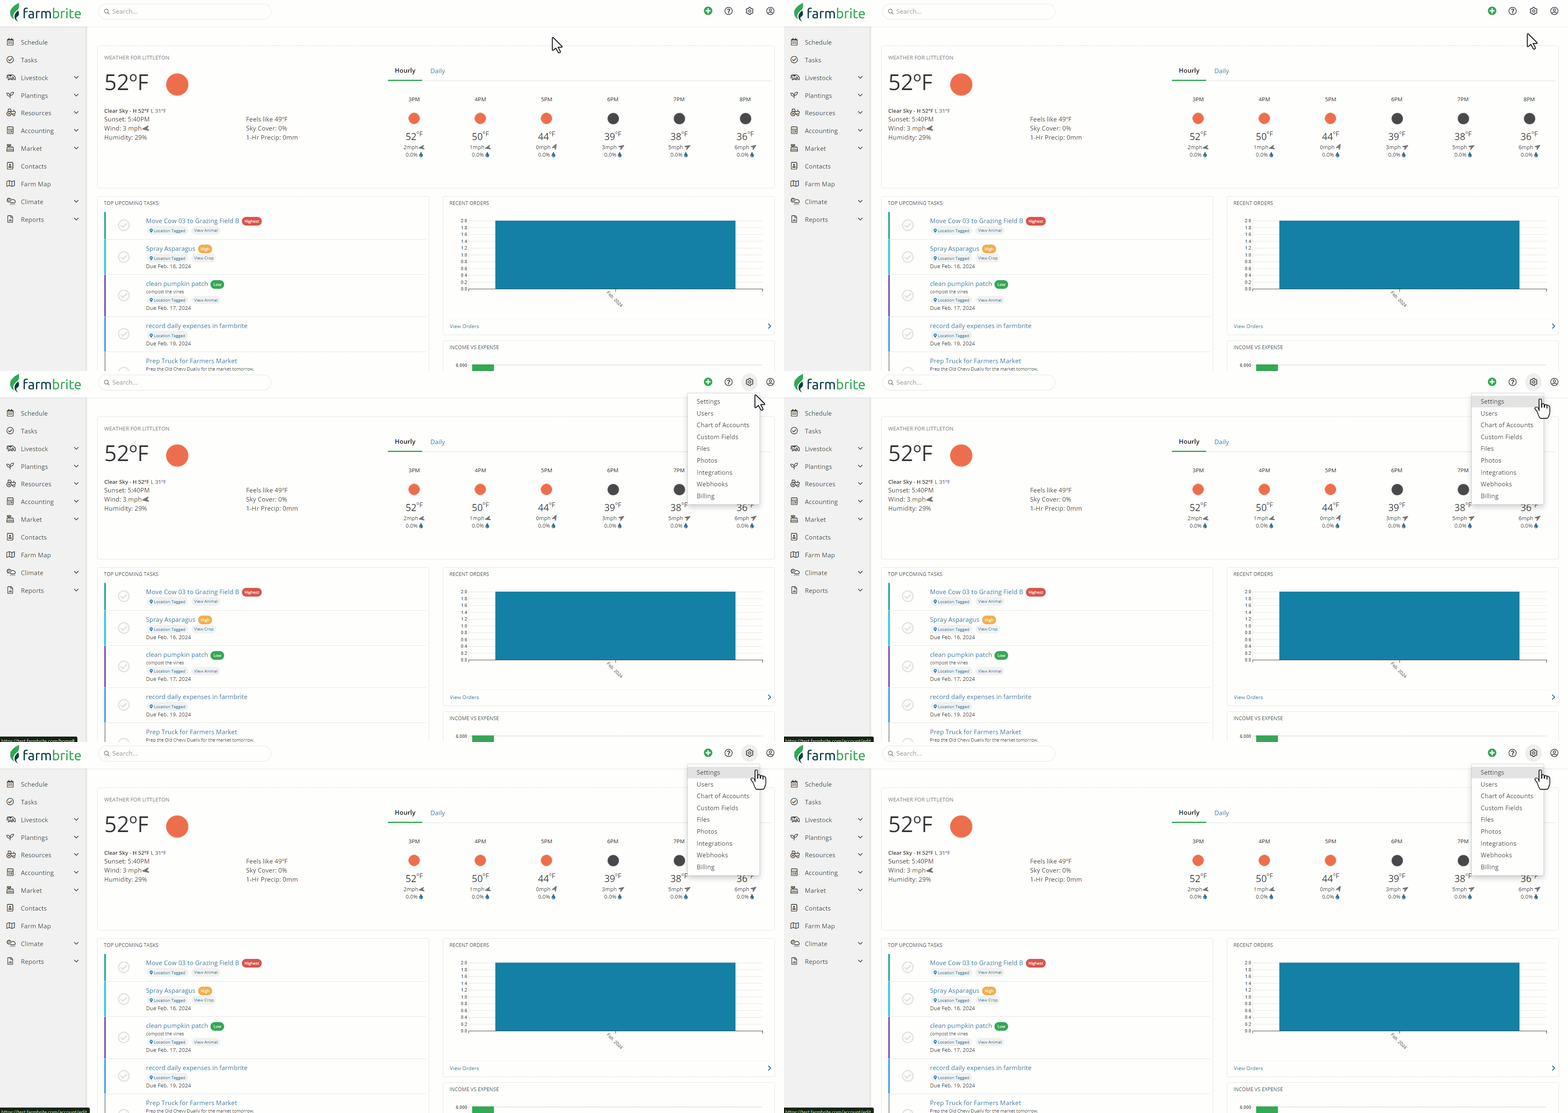
Settings
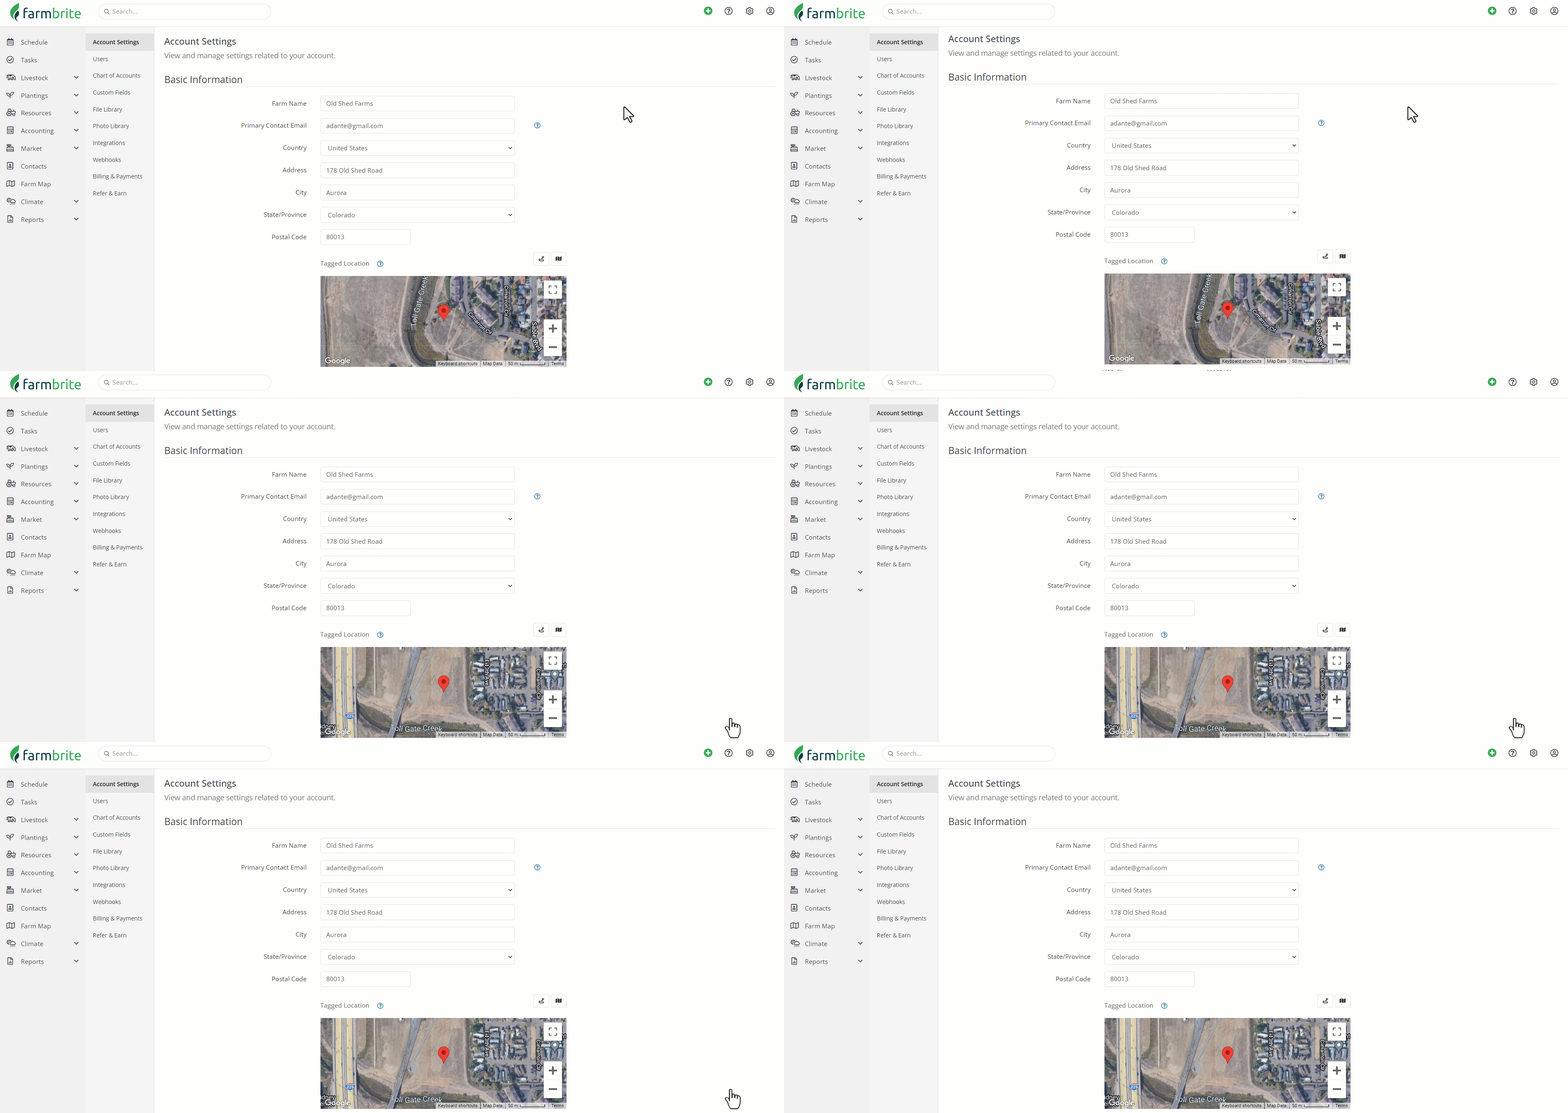
This is basic information like name, address, contact email address, and location data for your farm. You may have supplied some of this information when opening your account, but you can always update here. If you are trying to map your farm, but the starting location is not in the right spot, you can update your address here or move the pin on the map to have your farm map display a new area.
You'll also find administrative account settings here too. You can select your time zone, measurement system (imperial or metric units), and your currency. You will also see frost setting selections here, which control the default start dates for your plantings. They are automatically set by the hardiness zone selection, but if you are outside the United States you can set the dates to whatever you'd like. You might even set them to no frost if you live in a tropical climate. Task statuses are displayed and configured here too, so if you want to create a unique workflow for your farm tasks, you can outline the steps here.
Users
One of the first things you might want to do in your new account is share it with your colleagues. If you have other people at your business who will use Farmbrite, you'll probably want them to check it out as well. You might all try it together and then discuss ideas for how you can incorporate the software into your day-to-day operations. To add more users, choose Settings in the upper right, and then Users. From there, you can create new user logins for your teammates. You can assign permission levels to different users, so it's easy to have a farmhand try it out to see how it could help their processes too. Your teammates will get an email when you add them to set up their user login.
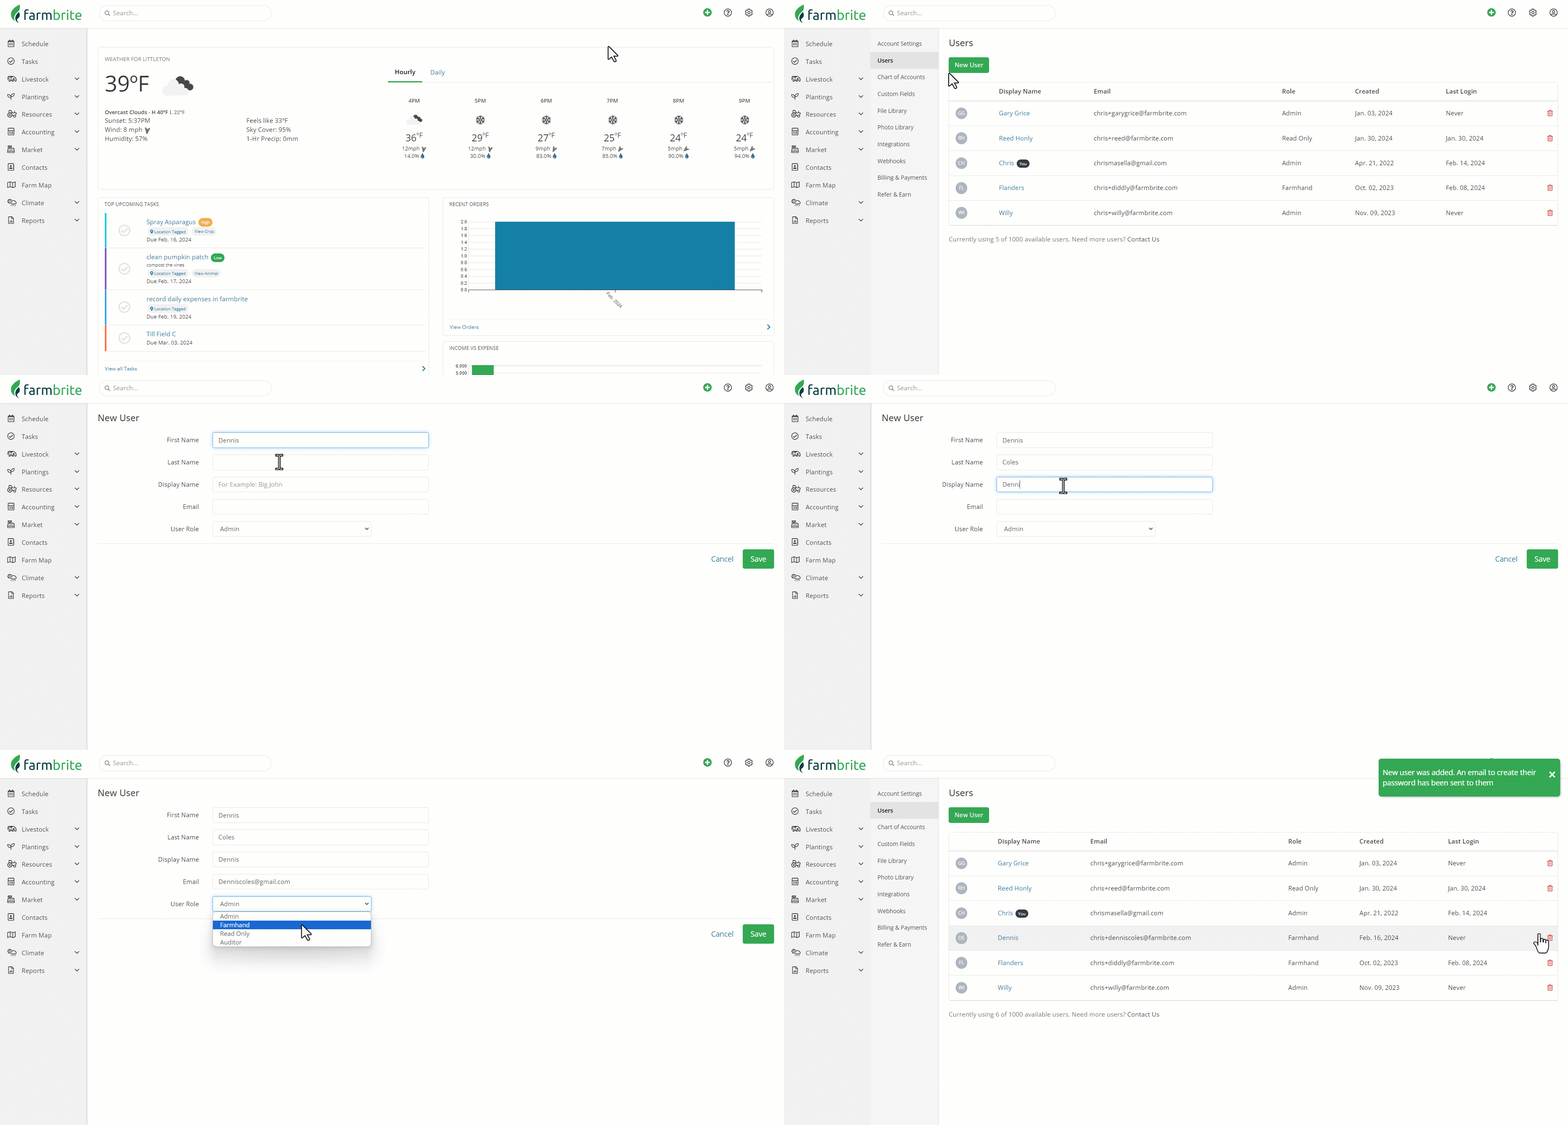
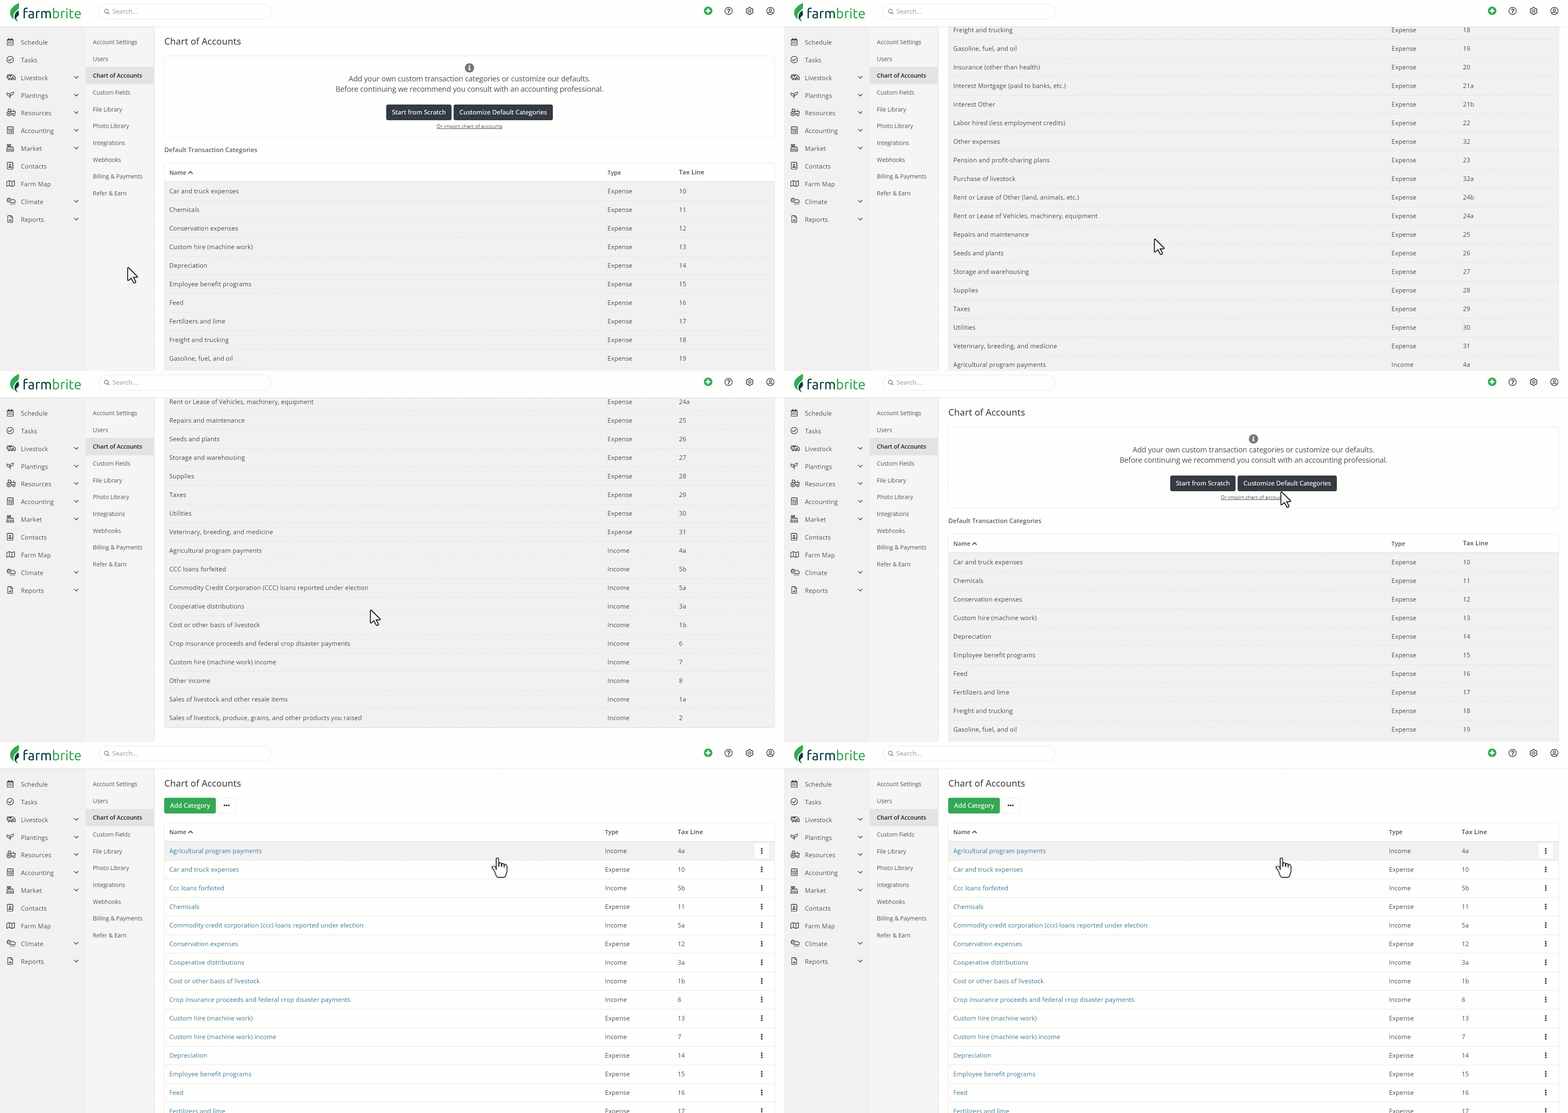
Chart of Accounts
You can use the Chart of Accounts setting to define custom accounting categories. Check out this article and video for more information, but the overall concept is that you can create custom reporting categories for your income and expenses to better track what's relevant for your business. Your main selection here is if you want to customize the default schedule F categories to add more, or if you want to start entirely from scratch and define all of your own custom categories. We think the Schedule F defaults are very useful for most farmers, but the choice is yours.
Custom Fields
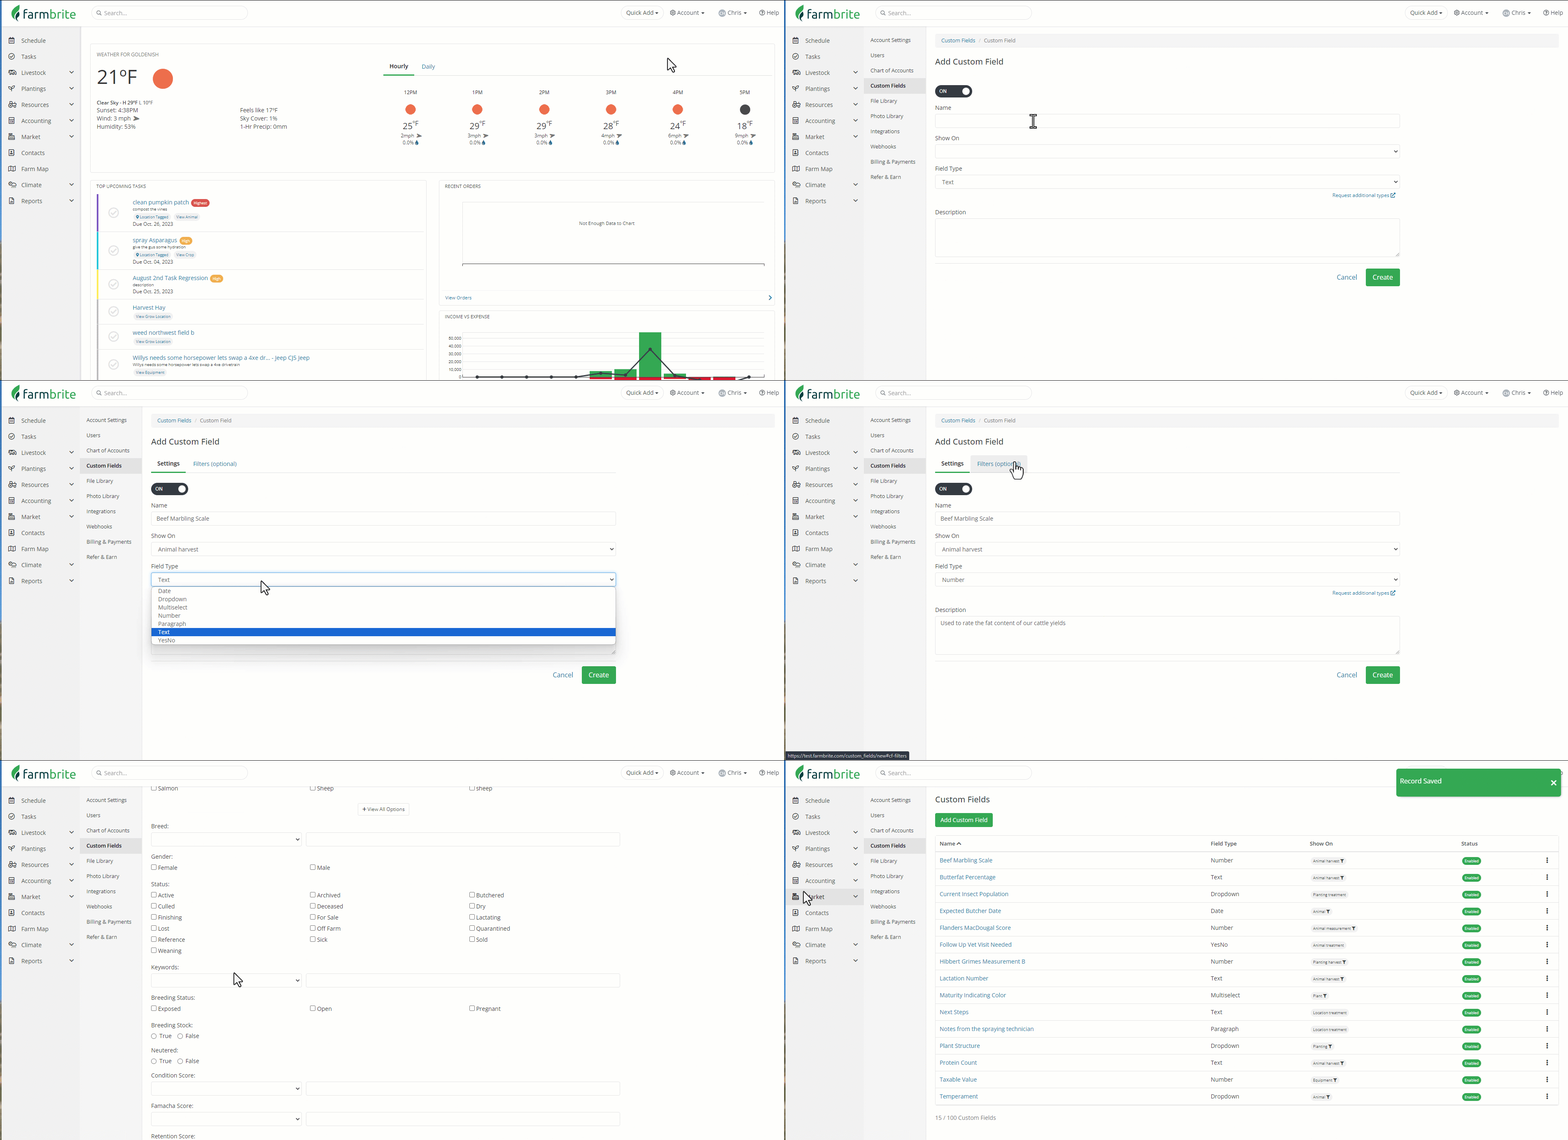
If you explore Farmbrite and find that you need more fields to gather specific data relevant to your operation, you can create custom fields to track basically whatever you'd like! You can make more drop down menus, checklists, and checkboxes to add to your animals, plants, harvests, and more. Read all about how to set them up and use them here. Note that this feature is available for Farmbrite Plus and Premium subscriptions.
Files and Photos
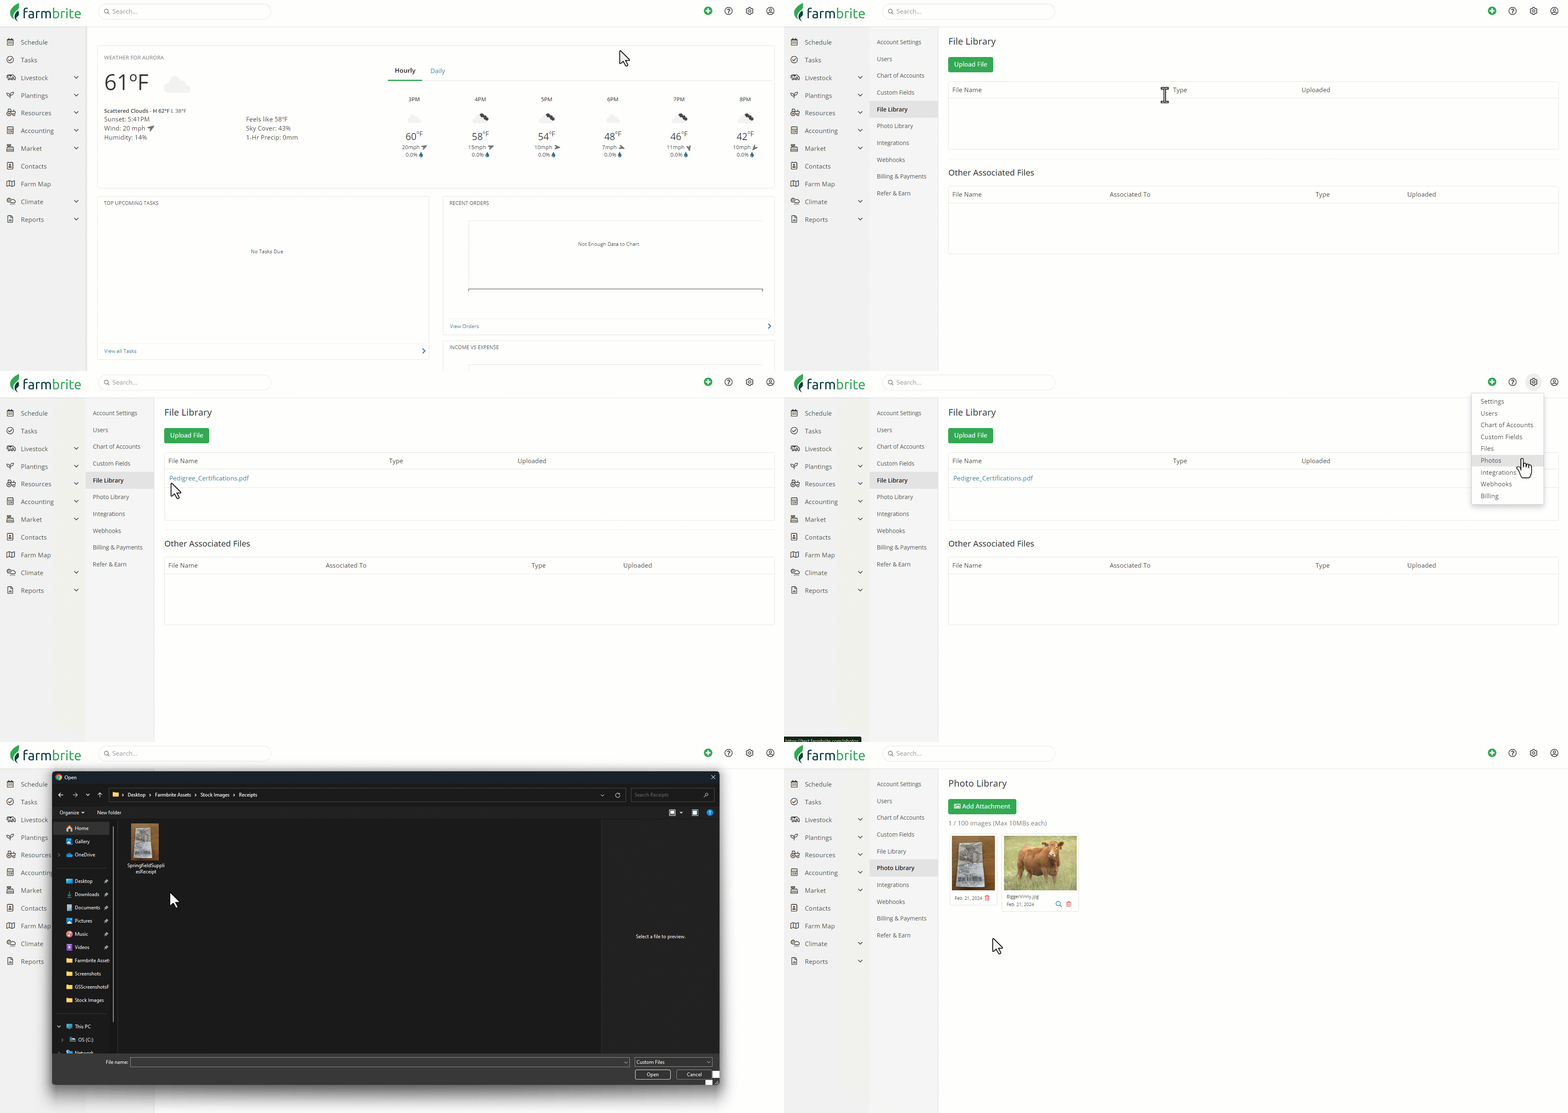
Think of both of the sections as storage. You might upload PDFs or Microsoft Word documents with things like pedigree certificates and organic certifications. Or maybe you want to have some images on file for your farm, store, and marketing efforts. Just think of these sections as your "Farmbrite Cloud Drive" to store files and photos that you'd like to retain and have online in your account.
Integrations and Webhooks
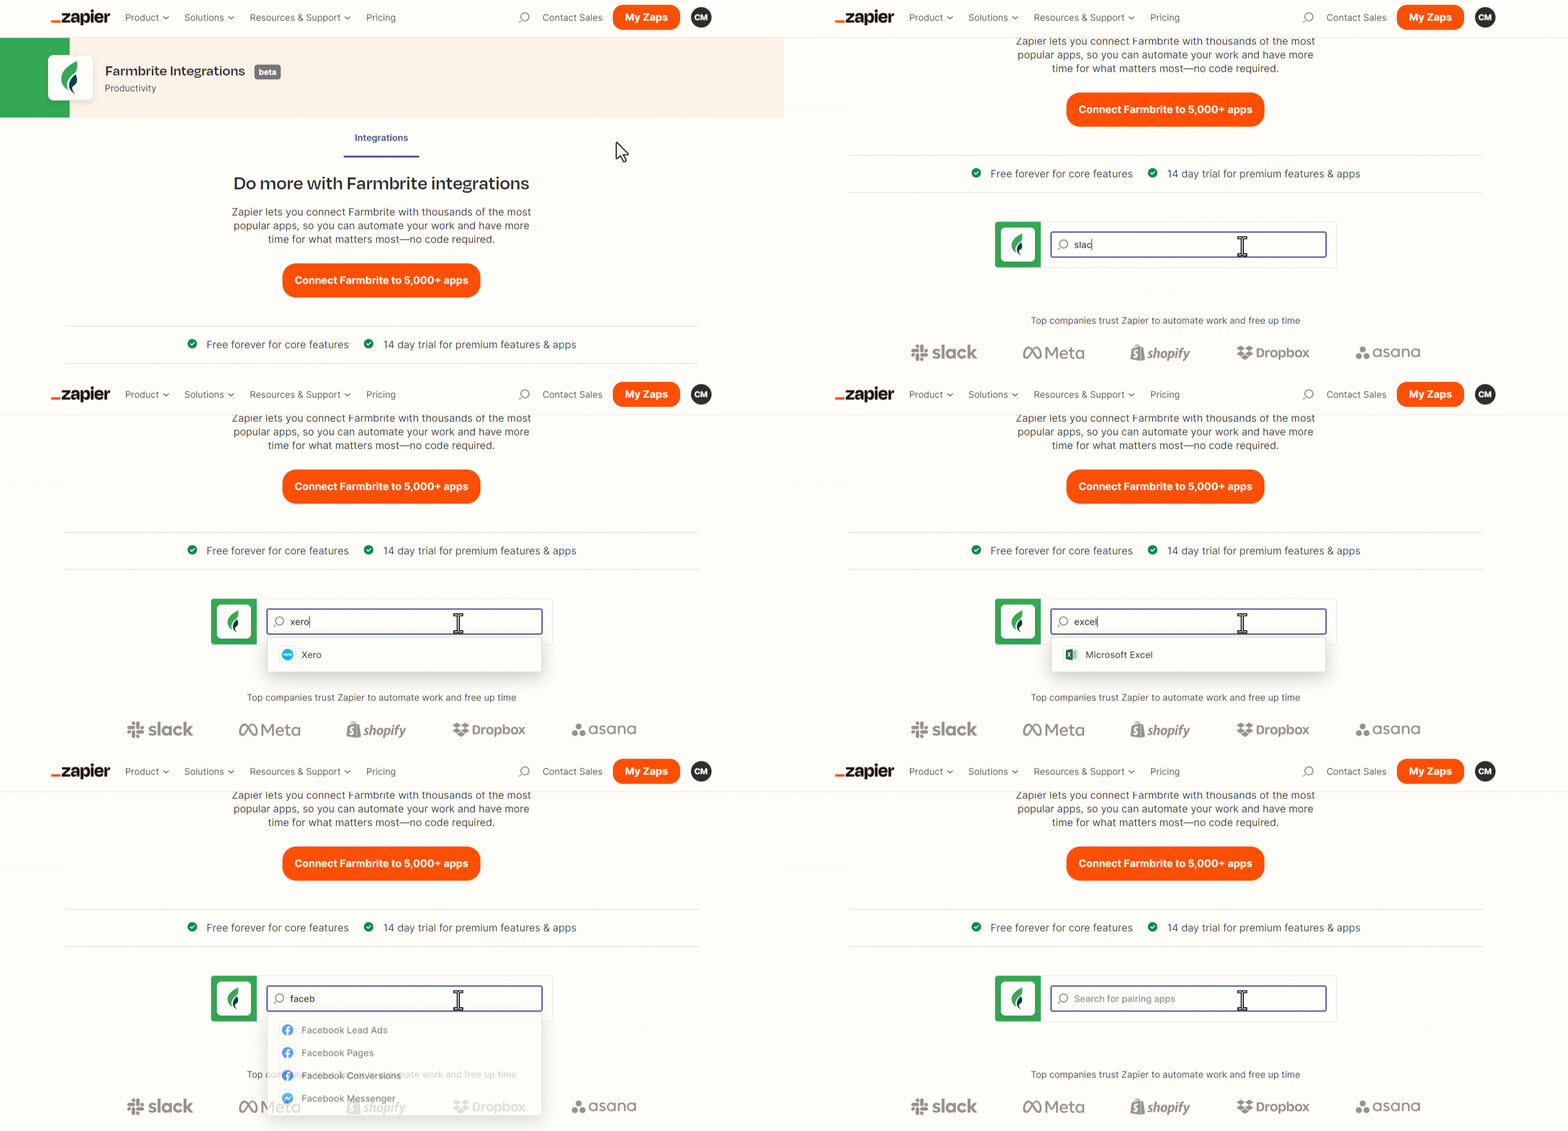
If you've explored your account and created custom fields but still need more, Farmbrite offers API integrations to connect the software with other apps and systems. This can be done via an API, webhooks, or Zapier. You can read about the options here. You might connect Farmbrite with things like Quickbooks, MailChimp, Local Line, Slack, Gmail, Outlook, and thousands more apps offered by Zapier.
Billing
You'll find all the relevant information for your account subscription here. You can change your plan and upgrade, or downgrade if you find that you don't need some features. If you find you don't want to use the software anymore, you can cancel your subscription here too. This tab also lets you change the card your have on file for future charges and shows you your past invoice history.
